Dog Nail Trimming: Tools, Tips and a Calmer Routine
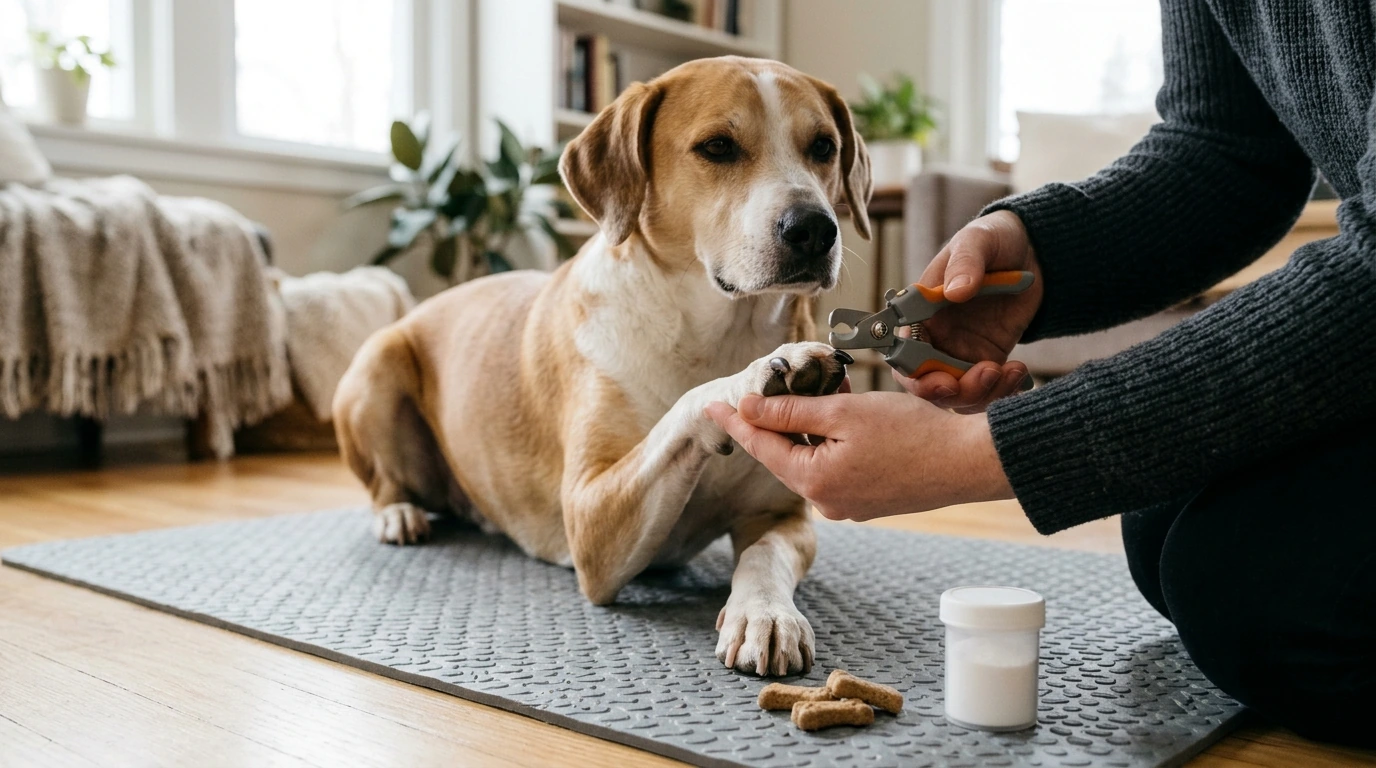
Nail trims can feel intimidating when your dog pulls away or you cannot see where the quick begins. You do not have to finish every nail in one sitting. With a little preparation, small cuts, and plenty of breaks, you can make paw care calmer for both of you. For more guidance, see 5 Pet Grooming Tips for Veterinary Assistants.
Know When Your Dog’s Nails Need Attention
Listen for clicking on hard floors and look at your dog’s paws while they stand. Nails that touch the ground or begin to curve are worth checking. Remember the dewclaws higher on the legs: because they may not contact the ground, walks might not wear them down. For further reading, see How to clip a dog’s nails – WSU Veterinary Teaching Hospital.
There is no trimming schedule that fits every dog. Activity, walking surfaces, and nail growth all affect how often a trim is needed. Make regular paw checks part of your routine instead of waiting for a particular date. Overgrown nails can affect comfort and traction. If your dog is limping or has persistent paw pain, ask your veterinarian for advice rather than assuming a trim will solve it.
Set Out Your Tools Before You Begin
Choose a tool that suits your dog’s nail size and feels easy for you to control. Clippers make a quick cut; a pet nail grinder removes nail more gradually. Neither is best for every dog. Good lighting helps you see what you are doing, while a nonslip surface can help your dog stand steadily. Set treats and styptic powder within reach before you start.
| Tool | Useful when | Keep in mind |
|---|---|---|
| Dog nail clippers | You want to remove a small amount with a quick, controlled cut. | Use an appropriate size and avoid taking off a large section at once. |
| Pet nail grinder | You prefer to shorten and smooth the nail gradually. | Introduce its sound and vibration slowly; avoid holding it against one spot for too long. |
| Nail file | You need to smooth a rough edge after trimming. | It is usually slower for shortening long nails. |
If you want a companion to keep alongside your routine, our Dog Nail Trimming Guide: Expert Tips, Tools, and Techniques for Healthy Paws brings the topic into one place. Start with the tool you can handle confidently, and let your dog’s response guide the pace.
Help Your Dog Feel Comfortable With Paw Handling
Practice when you are not planning to trim. Briefly touch a paw, offer a treat for calm behavior, and stop before your dog becomes distressed. Over several short sessions, you can work toward holding a paw and gently separating a toe. Let your dog investigate the clippers or grinder without using them. If you choose a grinder, introduce its sound from a distance before bringing it near a paw.
Pick a quiet moment for the first trim and keep your expectations small. One nail completed calmly is better than forcing all four paws. If your dog pulls away, pause rather than tightening your grip or chasing the paw. You can return to simple handling practice another day.
Trim a Little at a Time
Hold the paw gently but securely and separate one toe so you can see the nail. The quick contains blood vessels and nerves, so the goal is to stop before you reach it. On light-colored nails, you may be able to see the pink quick. On dark nails, it can be difficult to identify; remove especially small amounts and reassess after each cut.
Take off a thin tip rather than trying to reach your desired length in one cut. Reward your dog between nails and check for sharp edges, smoothing them with a file if needed. If your dog struggles or a nail looks injured, stop the session. For a visual demonstration of safe technique, you can consult the American Kennel Club’s nail-trimming guidance or ask a veterinary professional to show you in person.
If You Cut the Quick
An accidental nick can happen even when you are careful. Stay calm, apply styptic powder according to its directions, and use gentle pressure. Pause the trimming session so you can attend to your dog rather than pushing through the remaining nails.
Contact a veterinarian if bleeding does not stop promptly, the nail is torn, or your dog seems to be in significant pain. Afterward, return to brief, rewarded paw handling before attempting another trim. VCA Animal Hospitals’ nail-trimming guidance is another resource if you would like to review the process.
Make Paw Care a Manageable Habit
If nails are severely overgrown, your dog is fearful, or you cannot identify a safe place to cut, ask a veterinarian or experienced groomer for hands-on help. Our team encourages you to keep sessions brief and positive. Keep our Dog Nail Trimming Guide handy if you would like a reference as you build your routine.
Compare related options such as Becoming Your Best Travel Companion | Solo Travel Guide, Digital Download for Independent Travelers, Mindful Adventures & AI Tools for Solo Travel to match features, dimensions, and use case before choosing.
FAQ
How often should I trim my dog’s nails?
There is no single schedule for every dog. Check regularly for nails touching the ground or clicking on hard floors, and remember to inspect dewclaws.
How do I trim black dog nails without cutting the quick?
Use bright light, remove very small amounts, and reassess after each cut. Stop if you are unsure; a veterinarian or groomer can demonstrate the technique.
What should I do if my dog will not let me touch their paws?
Build tolerance gradually with brief paw touches and rewards before introducing a trimming tool. Avoid forcing a session and seek professional help if needed.











Leave a comment